Add a Table of Contents to your Ghost CMS Posts
Uses The H1, H2, H3 Headings from Markdown

Step 1: Setup JavaScript Code Injection
In Your Ghost Admin Panel, Navigate as Follows:
└── Settings/
    └── Code Injection/
        └── Open/
            └── Site Header
and then paste this:
<script>
document.addEventListener("DOMContentLoaded", function() {
    var toc = document.getElementById('toc');
    if (!toc) return;
    var headings = document.querySelectorAll('.gh-content h2, .gh-content h3');
    if (headings.length === 0) return;
    var list = document.createElement('ul');
    headings.forEach(function(heading, i) {
        var id = heading.id || 'heading-' + i;
        heading.id = id;
        var li = document.createElement('li');
        li.style.marginLeft = heading.tagName === 'H3' ? '20px' : '0';
        var a = document.createElement('a');
        a.href = '#' + id;
        a.textContent = heading.textContent;
        li.appendChild(a);
        list.appendChild(li);
    });
    toc.innerHTML = '<strong>Table of Contents</strong>';
    toc.appendChild(list);
});
</script>
And Save
⚠️ In Case you Forget to Save the script
Step 2: Add a Placeholder in Your Post
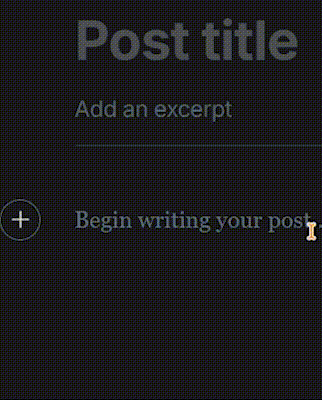
Open an Existing Post , or a new Post in your Admin Mode.
Most Normal People prefer having their Table of Contents at the Top of their Post, but its your post, place it wherever. You can create a placeholder by going to a new line (Make sure you see the + icon at the far left) and hit forward-slash / . Like this:
Now add the Following in the /html block:
<div id="toc"></div>