The Ultimate Remote Desktop Stack: Sunshine + Moonlight + ZeroTier
Finally, a setup that lets you work, play, and procrastinate from literally anywhere.
I've already ranted as to my dilemmas with RDP Solutions, so here's the Step-by-Step.
Pre-requisites
- A Remote Machine ( the stay at home sleeper PC)
- A Local Machine (the thin and light laptop in your bag)
- A Zerotier Account
Make sure to have physical access to your Remote and Local Machines
1 & 2 are physically needed, I haven't tried this with a Virtual Machine, but i guess there are ways around it.
If you dont have a Zerotier One Account...well, create one, its free (for upto 10 devices...)
Step1: The Network Setup
This step is REQUIRED for both the Remote and Local Machine
As discussed in the previous post, Zerotier acts as an invisible LAN cable between your remote and host machine , even though they are on different networks.
And before you start installing this on you machines, its a good idea to setup your account.
- Head here to Sign-In
If you don't have an Account. Create One , I signed up using Google, to make my logins a bit less head scratchy
Zerotier allows 1 network per user, to keep things free and not call out the wallet.
- On fresh setups, The Platform is intuitive enough to give you an interactive way to create your first network.
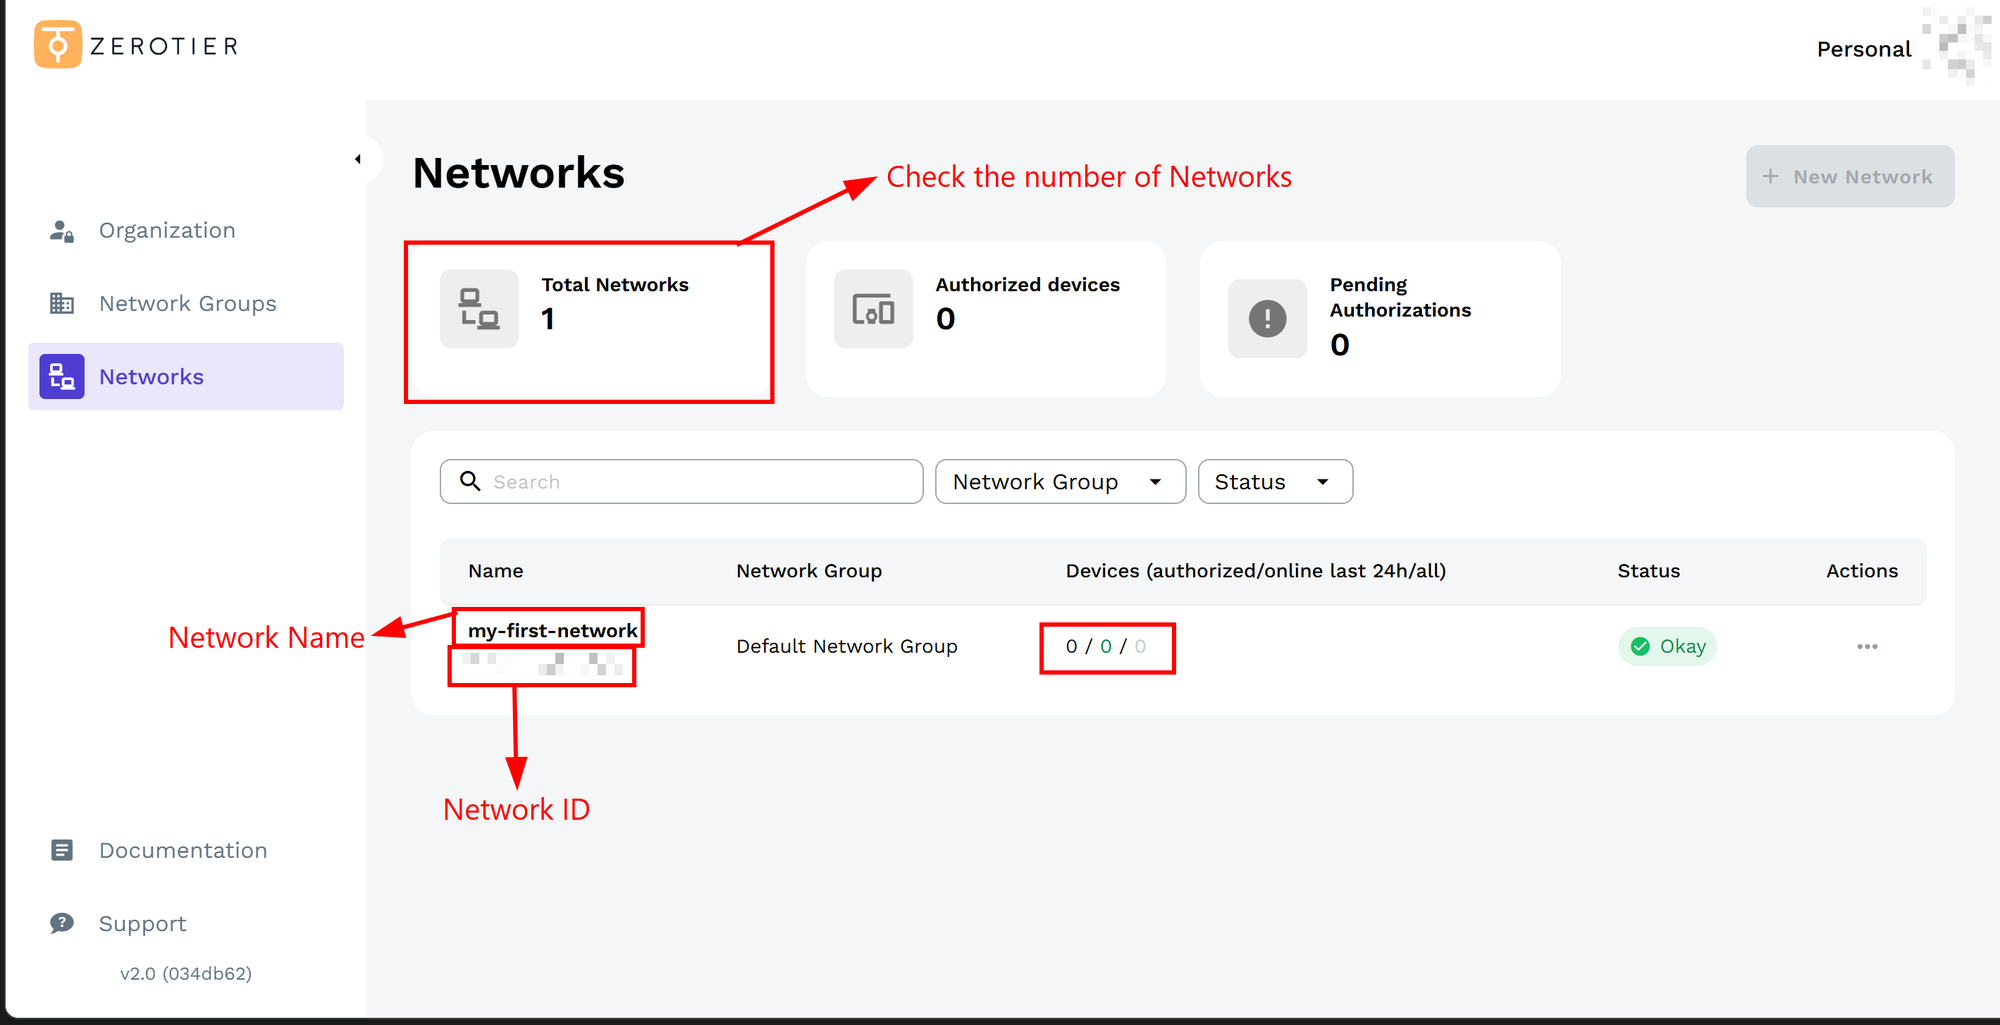
At this Stage the Network ID is the most important part, so note it down.
Step 2: Install the Zerotier Desktop App
2.1 Windows
- Download the .msi Installer
- Follow the Setup Wizard
- After Install, Run it.
- A Zerotier Icon should've popped up in the windows task-bar, as seen below:
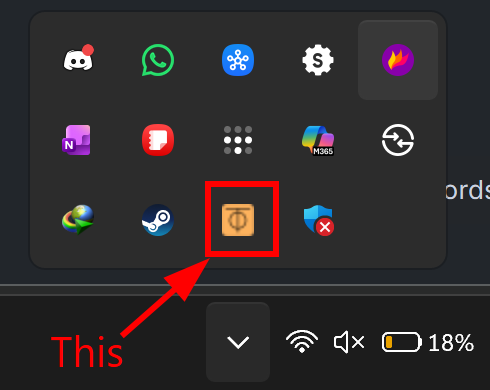
- Right-Click on the icon, and click on
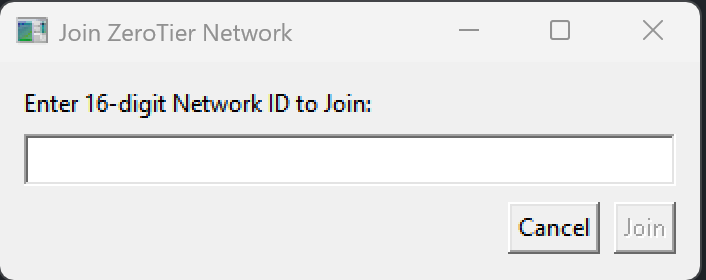
Join New Network... - Fill in the
Network IDin the window that looks like the one below and clickJoin
- Now Head Back to the
Dashboard in the BrowserandAuthorizethe device - After this check the Zerotier IP Address using
ipconfigin Windows Terminal, Command Prompt or Powershell. and look for something that looks like the following:
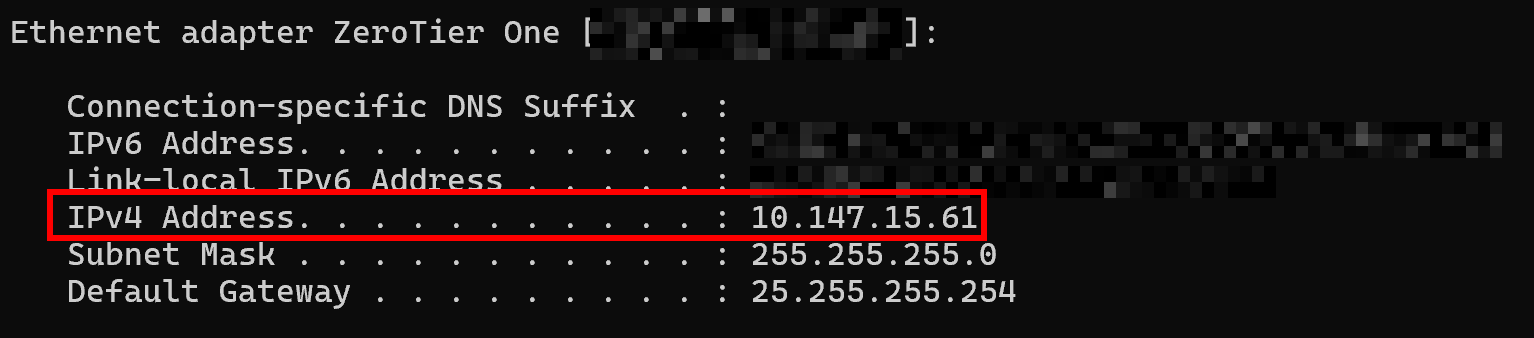
Look for IPv4 Address. This is your Zerotier IP.
- Now Right-Click on the Zerotier Icon as in Step 5.
Enablethe optionStart UI at Login
2.2 Linux
I've tested this in Ubuntu 24.04 LTS
Following the official Install instructions
curl -s https://install.zerotier.com | sudo bashThis install script is Universal and should work in most Linux Distros.
You can test if the install went right by trying this in the terminal:
sudo zerotier-cliZeroTier One version 1.16.1 build 0 (platform 1 arch 2)
Copyright (c) ZeroTier, Inc.
Licensed under a Source-Available License for Non-Commercial
Use (nonfree/LICENSE.md). Use of this build for Commercial Use
requires a paid subscription plan or a commercial license
agreement with ZeroTier, Inc. Visit https://www.zerotier.com for
more information.
Usage: zerotier-cli [-switches] <command/path> [<args>]
Available switches:
-h - Display this help
-v - Show version
-j - Display full raw JSON output
-D<path> - ZeroTier home path for parameter auto-detect
-p<port> - HTTP port (default: auto)
-T<token> - Authentication token (default: auto)
Available commands:
info - Display status info
listpeers - List all peers
peers - List all peers (prettier)
listnetworks - List all networks
join <network ID> - Join a network
leave <network ID> - Leave a network
set <network ID> <setting> - Set a network setting
get <network ID> <setting> - Get a network setting
dump - Debug settings dump for support
Available settings:
Settings to use with [get/set] may include property names from
the JSON output of "zerotier-cli -j listnetworks". Additionally,
(ip, ip4, ip6, ip6plane, and ip6prefix can be used). For instance:
zerotier-cli get <network ID> ip6plane will return the 6PLANE address
assigned to this node.If you did get to this part, then you have Zerotier installed. Now lets connect to the Zerotier network by using the Network ID that you got at the end of Step 1.
sudo zerotier-cli join <your-network-ID>Typically, this would would give 200 as the response, and honestly I'm not sure what it means apart from the connection being successful.
And since I've been daily driving this for a long time, I have observed that it installs as a service daemon, so it automatically starts even when I reboot the PC.
and Finally Retrieve your Zerotier IP , using:
ip aLook for an output in the lines of:

Step 3: Install Sunshine
This is For the Remote Machine ONLY
Sunshine is meant for Game-streaming, and uses a GameStreaming Protocol, instead of your run-off the mill RDP solutions like Teamviewer, and Chrome Remote Desktop. So how does this Standout ?
- Low Latency Interactions on Remote
- Support for High Refresh Rate streaming
- Support for High Resolution Streaming
3.1 Windows
I prefer the Installer over the Portable versions
- Download the .exe
- Run the Installer, (Next to Everything, make sure that the
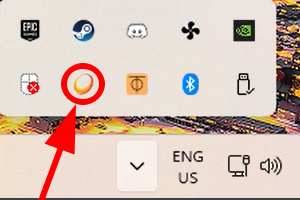
Startup at Loginoption isEnabled) - Now Click on the Taskbar Icon, like the one below and
Click on the Icon-->Open Sunshine
This should now Open a New Page on your Default Browser at the address:
http://localhost:47990You will Encounter anInsecure Page...click onOpen Anywayor whatever your browser shows
This should open a webpage prompting to create a username (default is sunshine ) and a password. Click on Apply
This will now Restart your Sunshine Server.
This should now show an interface like:
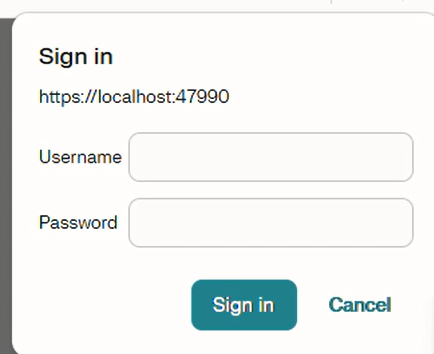
and login with the newly created credentials.
- Now
Configuration-->Network--> EnableUPnP - Scroll Down to
Externel IPand set it to yourZerotier IP - Click
Save - Click
Apply
3.1.1 Start Sunshine at Startup
Although I did make sure that I had the option enabled during the Installation, its better safe than sorry. So let's head to Services:
- Open
Run(Win + R) - Type
services.mscand hitEnter - Scroll down till you find
Sunshine ServiceandOpenit.
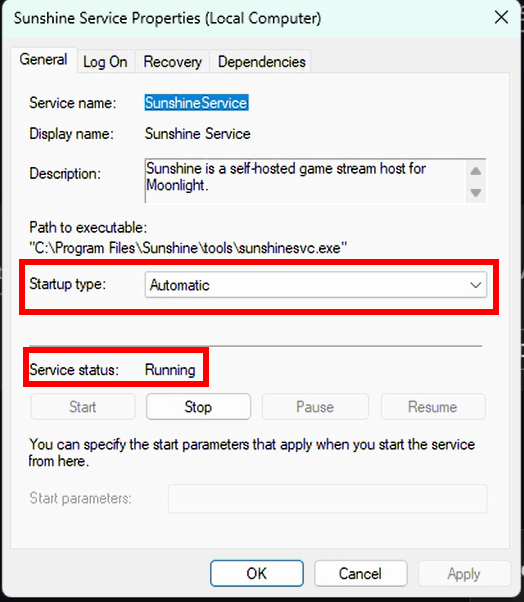
- Change the
Startup typetoAutomatic - Click
Applyand the clickOK
3.2 Linux
I've tested this with Ubuntu 24.04 LTS
- Download the .deb
Assuming that this goes to ~/Downloads- Install the deb file
cd ~/Downloads
sudo apt install ./sunshine-ubuntu-24.04-amd64.deb -y- Open a browser and Open
http://localhost:47990You will Encounter anInsecure Page...click onOpen Anywayor whatever your browser shows
This should open a webpage prompting to create a username (default is sunshine ) and a password. Click on Apply
This will now Restart your Sunshine Server.
This should now show an interface like:
and login with the newly created credentials.
- Now
Configuration-->Network--> EnableUPnP - Scroll Down to
Externel IPand set it to yourZerotier IP - Click
Save - Click
Apply
3.2.1 Start sunshine at startup
So, unlike Windows, there is no first-party method of having sunshine working at startup. But Ubuntu being ubuntu has a few things cut out for us.
Ubuntu Autologin
- Open
Settingsfrom the Apps Drawer/List or Search - Scroll Down to
System-->Users-->Unlock - Enable
Automatic Login
Startup Application Preferences
- Open
Startup Application Preferencesfrom the Apps Drawer/List or Search - Click on
Add - Fill in as the following:
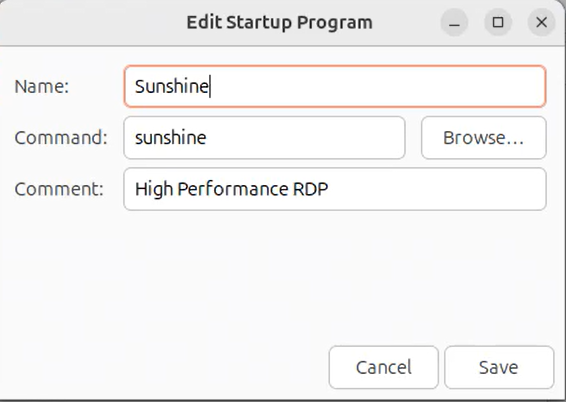
- Click
Saveand thenClose
Step 4: Install Moonlight
4.1 Windows
This is for the Local Machine Only
I prefer Installer version instead of the Portable version
- Download the .exe
- Run the Installer
- Open the Installed App.
Ctrl + Nor Click onAdd New Computer- Type in the
Zerotier IPof your Remote Machine
This should now show a locked clickable option...um so click it.
- This should now present a PIN.
Do the following step in the Remote Machine
- Open the Sunshine Configuration page (
http://localhost:47990) and login Pin-->Enter the PINfrom your Local Machine --> GiveLocal Machine Name-->Send
This should now Unlock the PC, for you to access it from anywhere, as long as both the Remote Machine and the Local Machine are on the same Zerotier Network
4.2 Linux
There's only a Portable Version, I still prefer an Installer tho
- Download the .AppImage
Assuming this goes to ~/Downloads- Set permissions
cd ~/Downloads
chmod +x Moonlight-6.1.0-x86_64.AppImage
- Run the App
./Moonlight-6.1.0-x86_64.AppImageCtrl + Nor Click onAdd New Computer- This should now show a locked clickable option...um so click it.
- Type in the
Zerotier IPof your Remote Machine
This should now show a locked clickable option...um so click it.
- This should now present a PIN.
Do the following step in the Remote Machine
- Open the Sunshine Configuration page (
http://localhost:47990) and login Pin-->Enter the PINfrom your Local Machine --> GiveLocal Machine Name-->Send
This should now Unlock the PC, for you to access it from anywhere, as long as both the Remote Machine and the Local Machine are on the same Zerotier Network
Happy Gaming, (I Mean Remote Desktoping) :D