Creating a Custom WSL 2 Distro in Windows 11
When the Microsoft Store ones are just not enough and, you're diabetic enough to not wait for the latest release

The Why
I usually use a Rocky Linux 9 at work, its in an airgapped workflow, so my hopes on RDP are next to none, I do have a personal Laptop. A Windows 11 laptop with a lovely display, one where I am aware that replacing the windows install is not viable, mostly due to the lack of the bloat I personally abuse with my Phone and Samsung specifically.
The Rabbit Hole
I have been aware of Windows Subsystem for Linux (WSL) ever since its inception in Windows 10, the GPU Acceleration and the subsequent deeper integration with GUI support and the deeper support with Windows 11.
There have been great strides with the available distros, especially with Canonical, but not a lot towards the ones I specifically need... I'm looking at you Rocky Linux
The Solution
If I cant find a ready made executable for installing a new Distro, then lets make it. So lets get to it:
Step 0: Download everything we need
- Podman Desktop (Just Download it for now...I'll explain the Install below)
Everything else is usually available in Windows 11,so
Step 2: Install WSL
- Open
PowerShell (Admin)
For the uninitialted,Start--> searchpowershell--> Right-Click -->Open as Administrator
wsl --install
wsl --update
Reboot the PC if necesary
Step 3: Install Podman Desktop
- Double click the Downloaded executable
- Make sure to use the
WSL2backend - Create the
default-podman-machine
I used the defaults...duh...I'm lazy
Step 4: Find the Distro you want to create.
Well the best place to look for OCI images is DockerHub, and I obviously wanted Rocky Linux 9, and I found it here
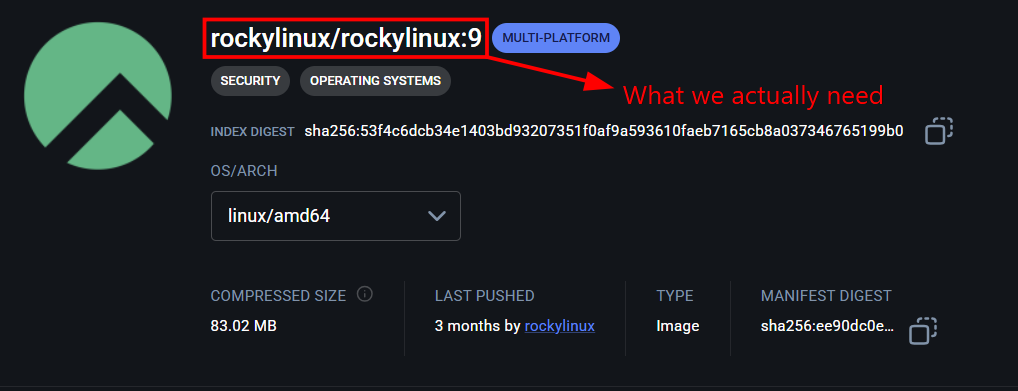
Step 5: Pulling the Image
Head back to Podman Desktop --> Images --> Pull --> rockylinux/rockylinux:9 --> Pull Image
Step 6: Create a new Container
Stick to Podman Desktop --> Switch to Containers --> Create --> Existing Image --> Choose the pulled image from the drop down --> Run Image --> Give a Container Name
Make sure thatcommandsays/bin/bash
Step 7: Configuring the Podman Container
Still in Podman Desktop --> Containers --> Your New Container --> Terminal
In case you're lost, follow the Image below:

assuming your non-root user is , yours truly . MAKE SURE TO CHANGE THE USERNAME
export NEW_USR=<new non root user>dnf update -y
dnf install -y sudo vim git podman fuse-overlayfs slirp4netns
useradd -m -G wheel $NEW_USR
echo '%wheel ALL=(ALL) NOPASSWD:ALL' > /etc/sudoers.d/wheel
chmod 440 /etc/sudoers.d/wheel
exit
Step 8: Export the Container as a Tarball

I exported mine as rocky9.tar on my Desktop
Step 9: Import the Tarball as a WSL Distro
mkdir C:\WSL\rocky9
cd C:\Users\<your_windows_user>\Desktop\
wsl --import rocky9 C:\WSL\rocky9 rocky9.tar
Step 10: Fixing the Default User
- Enter the new WSL Distro in a Normal Powershell ( Admin mode works as well)
wsl -d rocky9 -u root
- Inside the Linux Shell
cat > /etc/wsl.conf << 'EOF'
[user]
default=<user> # The one from Step 7
[boot]
systemd=true
[network]
generateHosts=true
EOF
exit- Shutdown WSL and restart WSL to save changes
wsl --shutdown
wsl -d rocky9